
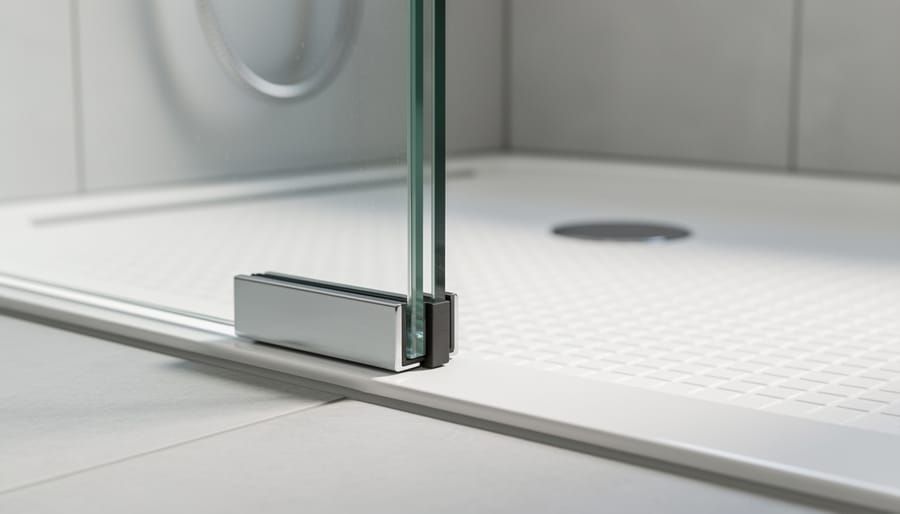
How to Choose and Install Rubber and Silicone Shower Seals, Gaskets and Flooring in a Waterloo Bathroom Renovation
Replacing a bathroom’s shower seals, gaskets, and flooring in a Waterloo renovation comes down to one decision: match each material to its exposure. Use silicone for flexible, high-moisture joints and frameless glass door seals. Use EPDM rubber where compression and abrasion dominate, such as sweeps and threshold gaskets. Choose flooring with a slip-resistant surface and a sealed perimeter. Done carefully, the job takes one to two days for a standard bathroom and sits at an intermediate difficulty level, with surface preparation as the main prerequisite.
The reasoning is simple. Water, soap residue, and thermal cycling attack every joint daily, and a seal that fails slowly lets moisture reach the subfloor long before you see a leak. Silicone resists mold-supporting degradation and holds elasticity across wide temperature swings. EPDM, a synthetic rubber (ethylene propylene diene monomer), keeps its compression set under constant pressure. Standard off-the-shelf profiles don’t always fit older frames or unusual glass thicknesses, so custom-extruded and cut-to-fit gaskets are often the sound answer. This guide covers material selection, tools, safety, installation, and verification.
Why Material Choice Determines Longevity in a Waterloo Bathroom
Where Failure Typically Starts: Compression Set, Hydrolysis and Mould Ingress
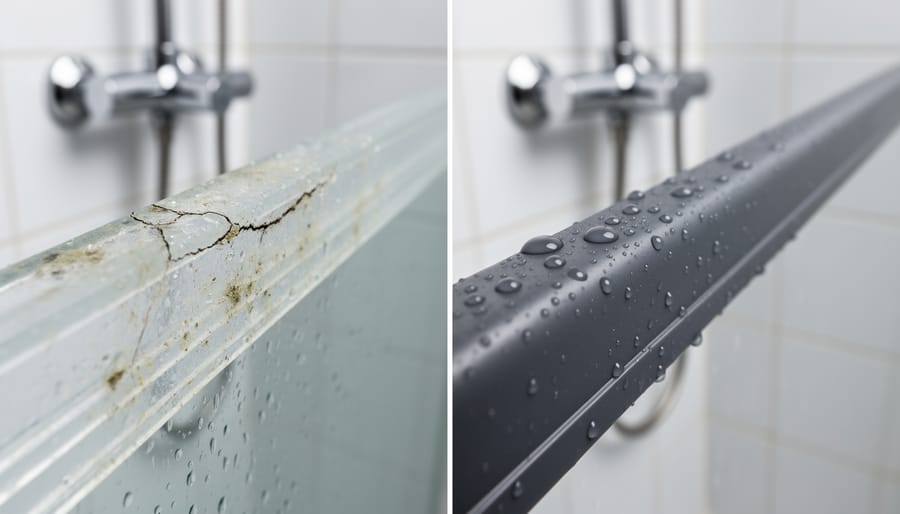
Low-grade seals tend to fail in three ways, and each one traces back to the compound and hardness chosen at the start.
The first is compression set, the permanent flattening a seal suffers after being held under load for a long time. A seal that has taken a set no longer pushes back against the glass or frame, and a thin leak path opens along the door edge. A high-quality silicone resists this far better than filled, bargain-grade compounds. Understanding rubber compression set helps you specify the right durometer, which is simply the material’s hardness. Too soft a profile flattens early, while one that’s too hard won’t conform to uneven glass.
The second is hydrolysis, where water and heat chemically break down certain polymers, leaving them tacky, cracked or crumbly. Some inexpensive thermoplastic and polyurethane-based gaskets are prone to it in constant humidity. Silicone and EPDM are largely immune, which is one reason the TPE vs silicone decision matters so much in wet zones.
The third is mould ingress. Porous or poorly formulated seals trap moisture and soap film, giving mould a foothold that cleaning can’t fully reach. A dense, non-porous silicone compound with a smooth surface sheds water and resists colonisation.
If you’re replacing seals as part of a wider update, bathroom remodelling services in Waterloo can coordinate the work, but the material specification still decides how long the result lasts.
Tools and Materials for Replacing Shower Seals, Gaskets and Rubber Flooring
Before you pull out a single old seal, gather the right kit. Most failed bathroom retrofits trace back to missing or mismatched supplies, not poor workmanship.
- Measuring and removal: digital calipers for glass thickness and gap width, a steel tape, a plastic scraper, a utility knife, and a silicone-removal tool.
- Seal and gasket profiles: door-bottom sweeps, bulb or fin seals and magnetic gaskets, in platinum-cured silicone or EPDM at a suitable durometer (hardness).
- Sealants and adhesives: a neutral-cure, mould-resistant silicone, a compatible primer, and a contact or flooring adhesive rated for wet areas.
- Flooring and substrate prep: a moisture meter, self-levelling compound, cleaning solvent and lint-free cloths, rubber flooring sheet or tile, underlayment, and a seam roller.
Measure first, and measure twice. Record the glass thickness, the gap between door and frame, and the length of each run. A few tenths of a millimetre separates a seal that compresses correctly from one that leaks or binds.
Compound selection matters as much as fit. Silicone tolerates heat and resists mould, while EPDM offers excellent weathering and a lower cost. Check that every adhesive and primer is compatible with your chosen elastomer, because silicone releases poorly from many bonding agents and will not accept a standard adhesive without surface treatment.
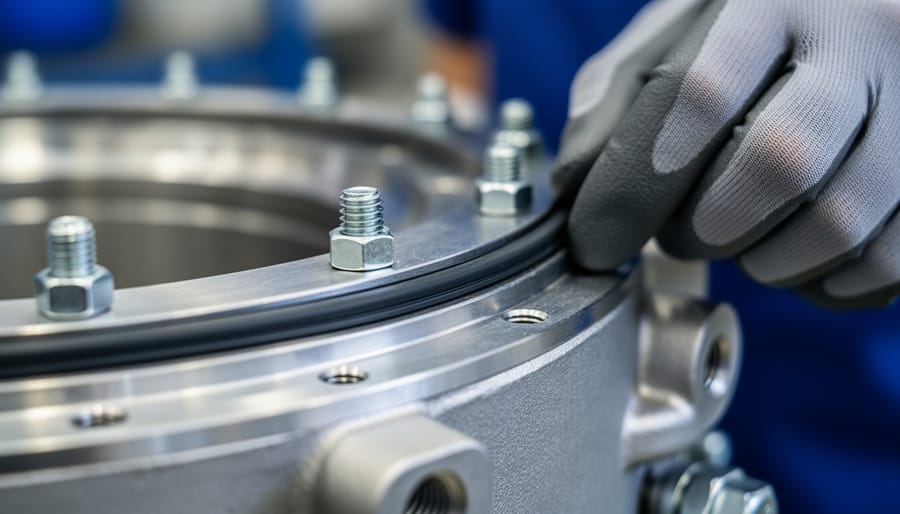
Stock parts do not suit every installation. When a door bottom, bulb seal, or magnetic gasket cannot match the existing glass thickness or gap, a made-to-measure profile is the better route. Custom-extruded or custom-cut custom rubber products can be specified to your exact dimensions, compound, and hardness, which removes the compromises that cause recurring leaks.
Finally, confirm the substrate is flat, dry, and clean before laying flooring. Underlayment and adhesive can only perform as well as the surface beneath them.
Safety Warnings and Stop Conditions Before You Start
Before you open a tube of primer or peel back an old gasket, assess the bathroom for hazards that can turn a routine seal replacement into a health or safety problem.
Ventilation comes first. Solvent-based cleaners, adhesive primers, and some contact cements release vapours that build up quickly in a small, enclosed room. Keep a window open, run the exhaust fan, and take breaks outdoors if you notice dizziness or headache. Check the product’s safety data sheet for flammability warnings, and keep ignition sources away from the work area.
Cured silicone residue deserves care too. Scraped silicone leaves fine, slick fragments that cling to skin and tools, and a sharp blade used to remove it can slip. Wear cut-resistant gloves and eye protection, and wipe the surface with the cleaner the sealant manufacturer recommends rather than improvising.
Wet rubber flooring is a slip hazard during installation, especially when adhesive or cleaning solution is underfoot. Keep the floor dry, work in sections, and use a non-slip mat at the entry point. Near fixtures, switch off power at the breaker to any bathroom circuit, light, or heated floor element before working, and keep water away from outlets.
Some conditions mean the job should stop entirely:
New seals and flooring will not fix a failed substrate; they will only hide the problem until it worsens. Permit and code requirements vary by project, so confirm them with the City of Waterloo or a licensed contractor rather than assuming they do not apply.
Step-by-Step Process: Removing Old Seals and Installing New Silicone and Rubber Components
Fitting Shower Door Seals and Gaskets Correctly
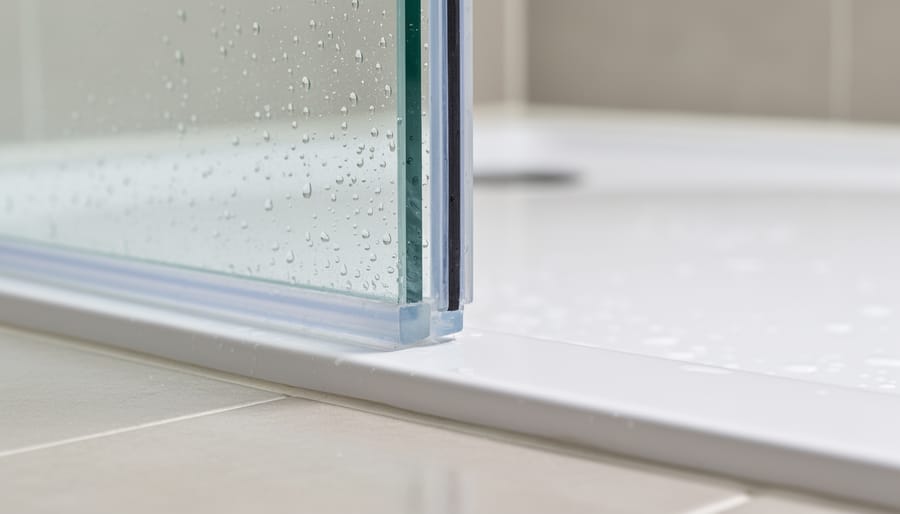
Start by measuring the glass thickness with calipers, then measure the gap the seal must close at the door’s narrowest and widest points. Door gaps are rarely uniform, so take readings at the top, middle, and bottom. Common glass thicknesses call for different channel widths, and a seal that grips a 6 mm panel loosely will not hold on 8 mm or 10 mm glass. Match the channel width to the glass, then match the fin or bulb height to the gap. A bulb seal needs roughly 10 to 25 percent compression to close reliably; a fin seal should flex and rest against the tray without being forced flat.
Orientation matters as much as size. Mount a bottom fin or bulb so it angles outward and downward, directing water back toward the tray rather than letting it track under the door. Secondary drip fins on the exterior face help break surface tension and stop capillary creep. Where splash-back is a persistent problem, rubber deflector strips add a defined channel that sheds water away from the threshold.
For magnetic gaskets, align the two profiles so the magnets meet face to face across the full door height, then check closure at several points. Compression gaskets should seat fully in the glass channel before you trim to length, leaving a small allowance for thermal movement.
If you have replaced stock seals and the leak returns, the problem is usually a gap that varies along the door, an out-of-square panel, or an uncommon glass thickness. In those cases a custom-extruded profile, designed around your measured gap and compound requirements, resolves what off-the-shelf parts cannot.
Laying Rubber Bathroom Flooring and Sealing Perimeters and Drains
Start with the substrate. It must be flat, clean, and fully cured, with no loose tile, flaking paint, or residual sealer. Grind high spots and fill low spots with a cementitious patching compound, since rubber telegraphs imperfections over time. Degrease the surface, then vacuum thoroughly.
Run a moisture check before any adhesive is opened. A calcium chloride test or in-situ relative humidity probe gives a reliable reading on concrete, and a pin-type meter suits wood-based subfloors. If readings exceed the adhesive manufacturer’s stated limit, stop and correct the moisture source. Bonding over a damp substrate is the most common cause of later lifting.
Choose an adhesive rated for rubber flooring in wet areas, and confirm compatibility with both the backing and the substrate. Use the trowel notch size specified on the data sheet and respect the open time, because spreading too far ahead of placement produces a weak bond. Roll the sheet or tile with a weighted roller to remove trapped air and ensure full contact.
Treat seams deliberately. Butt edges tightly, or heat-weld or chemically seal them where the product allows, so that water cannot migrate beneath the surface. Leave a small expansion gap at the perimeter, typically a few millimetres, to accommodate thermal movement.
Seal that gap and every penetration with neutral-cure silicone rated for sanitary use. Backer rod suits deeper gaps, and tooling the bead to a concave profile sheds water. At the drain, bed the flange in sealant and finish the rubber edge against it, leaving no exposed cut edge.
Select a surface texture with an adequate slip-resistance rating for wet barefoot use; a fine stud or pebble pattern balances grip against cleanability. Clean with pH-neutral products, as strong solvents and some degreasers can degrade rubber and silicone alike.
Verifying the Result and Planning Maintenance
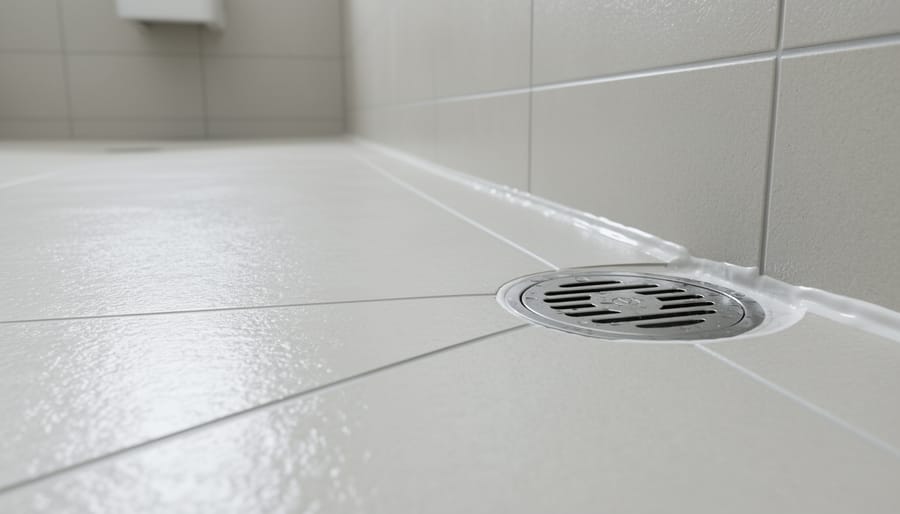
Once the silicone has fully cured, as set out by the manufacturer, confirm that the installation performs before the bathroom returns to daily use. Start with a controlled water test: run the shower for several minutes, directing spray at the door seals, glass junctions and flooring perimeter, then inspect for seepage on the dry side. Follow with a visual inspection of seal contact along the full length of each profile, and check flooring seams and drain edges once the adhesive has set.
Use this checklist for the post-installation review:
- Bulb or fin seals touch the glass or frame evenly, with no visible light gaps.
- Door bottoms direct water back into the tray rather than over the threshold.
- Silicone beads are continuous, fully adhered and free of voids or pinholes.
- Rubber flooring seams are flush, with no lifting corners or open joints.
- Perimeter and drain sealing shows no moisture tracking after the water test.
For ongoing care, clean with mild, pH-neutral products and avoid abrasive pads or strong solvents, which accelerate surface degradation in elastomers. Inspect seals every few months, and look closely for the signs of end of life: permanent flattening (compression set), cracking, hardening, discolouration that cleaning will not remove, or recurring mould at the bead edge. Any one of these means the component is no longer sealing reliably.
If stock profiles keep leaking or standard compounds wear out early, consult a rubber specialist about a custom-extruded profile or a compound matched to your conditions.
Frequently Asked Questions About Bathroom Rubber and Silicone Components
Is silicone or rubber better for shower seals?
Silicone (VMQ) is generally preferred for constant-wet shower seals because it resists mould, tolerates wide temperature swings and holds its shape well. EPDM and other vulcanized rubbers suit flooring and some door gaskets, where toughness and slip resistance matter more than flexibility in a wet seal line.
How long do shower seals typically last?
Service life depends on compound quality, cleaning habits and water hardness, so there is no single figure. A correctly specified compound, fitted to a clean substrate, will outlast a stock seal that has been compressed beyond its limits.
Can a mouldy seal be cleaned, or must it be replaced?
Surface mould on a sound seal can often be cleaned with a compatible, non-solvent cleaner. If discolouration has penetrated the material, or the seal has hardened or split, replace it, because the compromised surface will keep harbouring growth.
Is rubber flooring suitable for wet zones, and when are custom seals worth it?
Yes, provided the substrate is dry and sound, seams are treated, and the perimeter and drain are sealed with silicone. Custom-extruded or moulded seals are worth specifying when stock profiles do not match your glass thickness or gap, or when leaks keep recurring.
For a deeper comparison of compounds, durometer ranges and their typical applications, consult our rubber materials guide before finalizing your specification.
A bathroom that stays dry and quiet for years rarely comes down to luck. It comes down to three decisions made early: choosing the right compound for each wet-zone job, fitting a profile that matches the actual glass thickness and gap, and preparing every surface so adhesives and sealants can bond as designed. Skip any one of them, and even a premium seal will lose compression, lift at the edges, or invite mould behind the gasket.
Where stock door bottoms, bulb seals, or flooring edge trims do not match your dimensions, a custom-extruded or custom-cut elastomer profile is usually the cleaner fix than forcing a near fit. For specialized compounds, unusual profiles, or recurring leak problems, consult The Rubber Associates and specify the part around your renovation, not the other way around.
